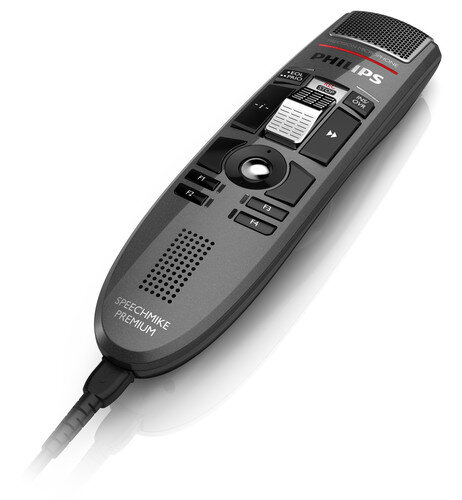
Using Your SpeechMike With Dragon
In this guide, we’ll walk you through the process of programming your Philips® SpeechMike to use with Dragon® NaturallySpeaking speech recognition software. The SpeechMike enables you to automate various features of Dragon Medical Practice Edition, which will no doubt super-charge your productivity. Whether you’re navigating through a template, opening applications, inserting text, or invoking hotkeys, the Philips SpeechMike will allow you to get more done in less time.
Please note that you will need a Dragon profile with a USB microphone source to work with the SpeechMike.
Which Editions of Dragon Does This Work For?
- Dragon NaturallySpeaking 12 & 13
- Dragon Individual/Group 14 & 15
- Dragon Law Enforcement
- Dragon Medical Practice Edition 1 & 2
Stage 1: Connect your Philips SpeechMike
Connect your SpeechMike to any open USB port on your computer. The USB ports on the back of your PC usually have more power allocated to them, so we recommend using one of them, if possible.
Stage 2: Download and Install Philips SpeechControl
The successor to the Device Configuration Tool, Philips SpeechControl is used to customize the behavior of the SpeechMike, as well as the foot control, for various applications. Once SpeechControl is installed, the default profile is automatically selected, and enables the microphone buttons to perform basic Dragon functions.
NOTE: Some documentation will refer to SpeechControl as the Philips Device Control Center (PDCC).
1. Go to the Philips website to download the latest version of SpeechControl, which is v4.0.400.20 as of November 2017. This download may take up to 20 minutes, depending on your internet speed.
2. Once the download has completed, extract (unzip) the folder to display its contents. Double-click “philips_speechcontrol_installer.exe” to begin the installation.
3. A SpeechControl Install Shield Wizard will appear. This wizard will walk you through the installation process. Select [Next] to begin.
4. Follow the prompts in the wizard to complete the installation. This just involves pressing the next button a few times.
Stage 3: Customize the Philips SpeechMike
To change the default Dragon button configuration for your specific needs, follow the instructions below.
1. Open SpeechControl and select the [Application Control] tab. Make sure that the target application is set to “default.”
There are three columns in the Application Control tab:
Name – This is the button on the SpeechMike that can be programmed.
Pressed – This column represents the action that will take place once the button is pressed.
Released – This column represents the action that will take place on the button is released.
2. To change the default settings, select the ellipsis box […] next to the desired action (i.e. Pressed or Released).
3. Once the ellipsis box is selected, an Edit Operation window will open.
4. To make a change to the default settings or to add new settings, use the [Add], [Edit] and [Delete] buttons.
5. The edit and delete options are self-explanatory. If you select [Add], an Operation Step Editor dialog window will appear with 6 options:
Hotkey – This option will allow you to program a hotkey or a combination of hotkeys to the button selected.
Text – This option will allow you to insert a block of text when the button is selected.
Start Application – This option will allow you to automatically open a particular application on your computer when the button is selected.
Mouse Button – This option will allow you to use a mouse command when the button is selected.
Dragon NaturallySpeaking Command – This option will invoke a built-in Dragon command when the button is selected.
Delay – This option will tell the system to wait for a specified period of time when the button is selected.
6. Make you selection, then choose [Next] to return to the edit operation screen.
7. Select [Apply] to transfer your new settings to the SpeechMike.
8. Close SpeechControl and you’re all set!
Note: SpeechControl must be running in the background, with “Activate Application Control” and “Enable DNS” checked, in order for the device to recognize the commands. Make sure it’s running in your Windows® system tray, and then right click on the icon to verify these settings.
Verification Source and Date
In-house testing, 11/2011


