Routing Files in a Network Environment
This ‘How to’ guide will walk you through the process of how to route finished dictations to a specific transcriptionist when using online recording in SpeechExec Pro. With the Philips software, you can set up as many typists as you want, and have dictations routed to each of them over a network.
Author ID
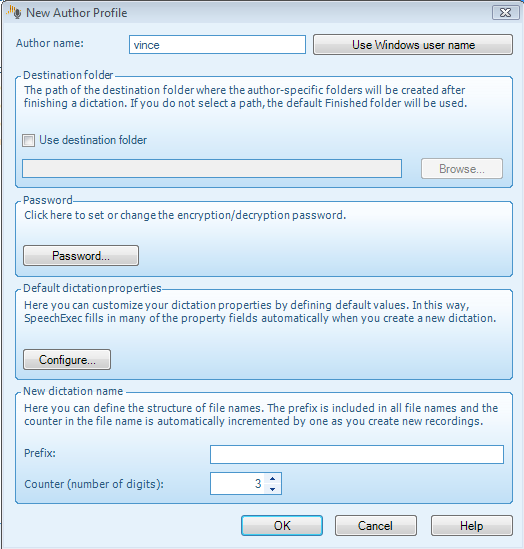
Set up your Author ID. Most the time you are prompted to do this when you start SpeechExec Pro, however it is as simple as going to Settings > General Settings. On the right hand side you will go to Rules and select the subsection [Author Profiles]. Click Add and you will see the ‘Add Author Profile as in the screen shot below.
Set your Destination Folder
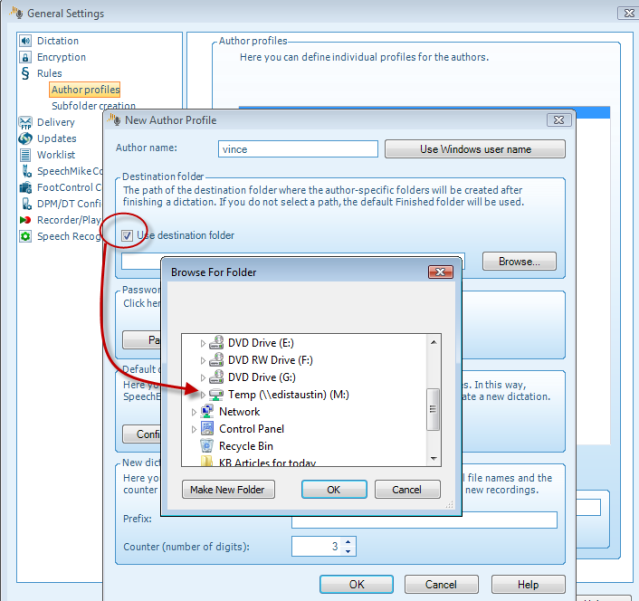
Now you need to set where your finished Dictations will go. In the same ‘New Author Profile’ panel, click ‘Use destination folder’. Once you do this, a browse window will pop up. Just browse to the network location you want your transcriptionists (typists) to look for the files the author creates.
Subfolder Creation
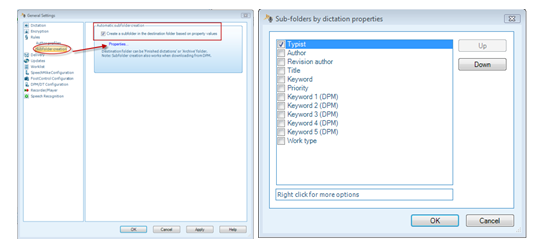
In the “Subfolder Creation” node, turn on the setting to create subfolders, and then click the “Properties” link. Choose “Typist” as the property you will use to create subfolders and click [OK]. This will create a new folder for each typist in the dictation directory on the network—which you specified in the previous step.
Setting Dictation Properties
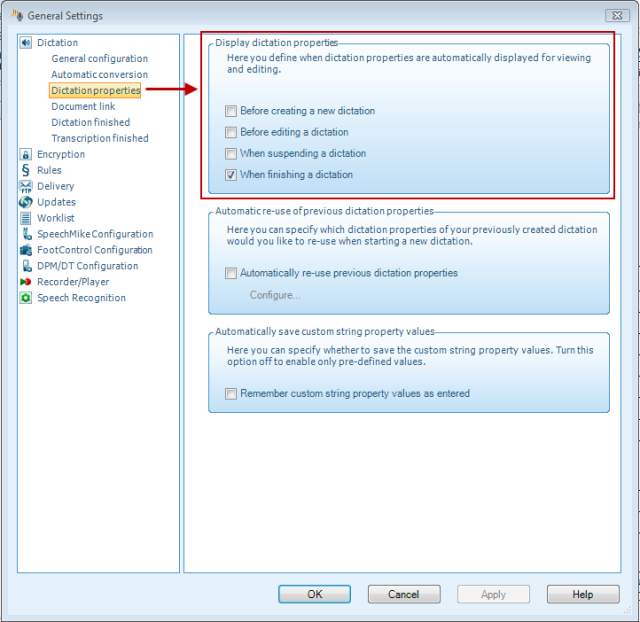
You need a way to communicate to the program which typist’s folder you want your dictation to go to. To to this you go to will need to set the program to prompt you to choose. Go to Settings > General Settings. Choose the section Dictation, then the subsection Dictation Properties. Here you can choose to be prompted Before you create a file, when editing, when suspending or when finishing (or all of the above).
Selecting your typist (making it easier)
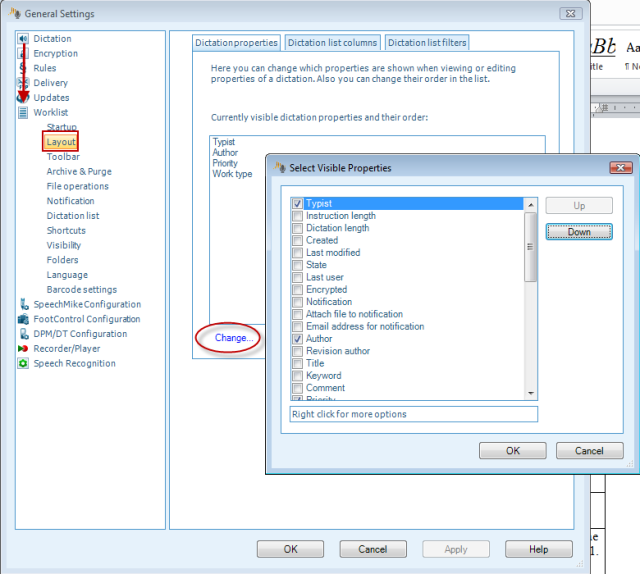
When you prompted to edit properties it can be kind of hard to find the typist property field. You can edit this to make it easier to find. That way you don’t have to scan through all of the properties in oder to make you selection. To do this go to Settings > General Settings. Go to the section Worklist and choose the subsection Layout. The first tab Dictation properties. You can change how many properties to view by checking the box on the properties you want to see and unchecking the ones you do not wish to see. You an also change the order in which you wish to see the properties in the file. This is important because if you put the typist field in the top, it will be easier to change and that faster you can move on to the next dictation.
Selecting each designated typist
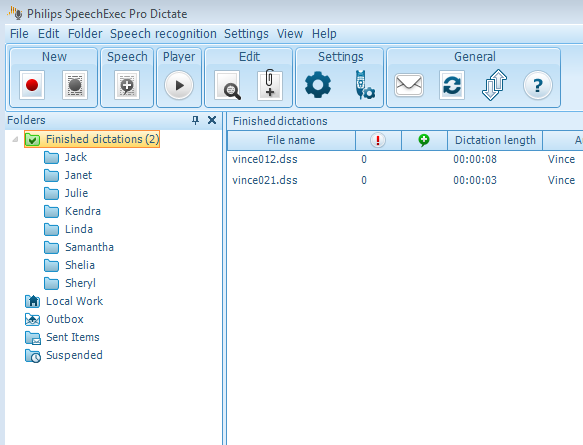
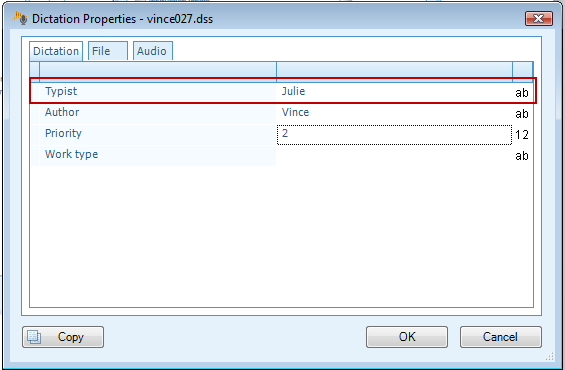
Create a new file, choose your typist and watch the program create a typist folder for each typist you fill in. If you already have folders for the typists, don’t worry. It will put the file in the folder provided the folders are contained in the finished dictations folder. Note: You will have to write in the name. Unfortunately there is not getting around this unless you have voice recognition.
The end result looks like this. You can add as many typist subfolders you wish.