You can configure an email profile using SMTP/POP3 within Philips SpeechExec Pro Dictate v7.1. Below we are going to set up a generic POP3 account. You must verify your POP3 server settings with your IT administrator or your email service provider.
Step 1 Open the Email Settings
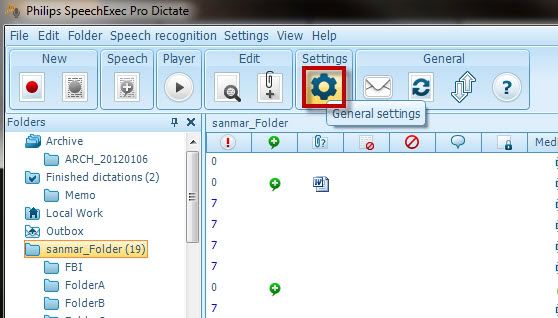
1. In the Philips Speech Exec Pro Dictate v7.1 software Tool Bar, click on General Settings as illustrated below.
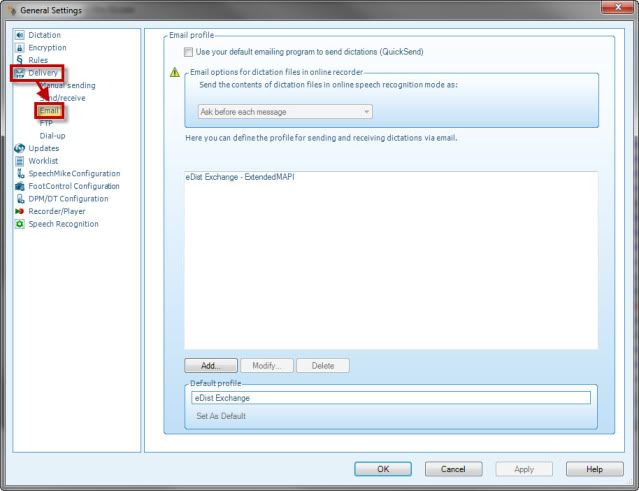
2. Select the Delivery Folder>Email as illustrated below.
Step 2 Add an Email Profile
1. In the Email Profile window, select theAdd… button as illustrated below.

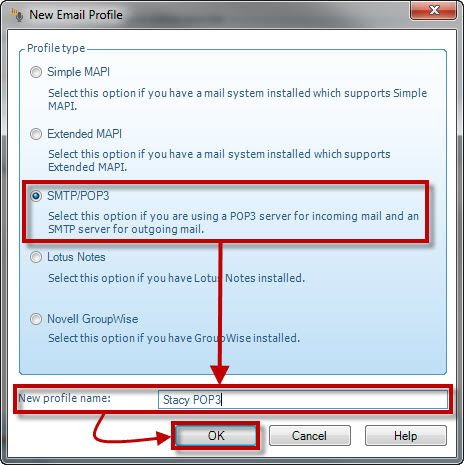
2. In the New Email Profile window, select SMTP/POP3 and give it a New profile name. Then click OK as illustrated below.
Step 3 Configure Pop/SMTP Settings
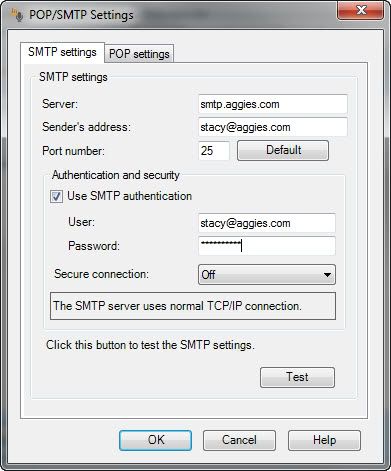
1. A POP/SMTP Settings window will open, enter your SMTP settings as the illustrated example below. Obtain your SMTP settings from your IT administrator or your email service provider. Selecting the Test button will let you know if it has been setup correctly.
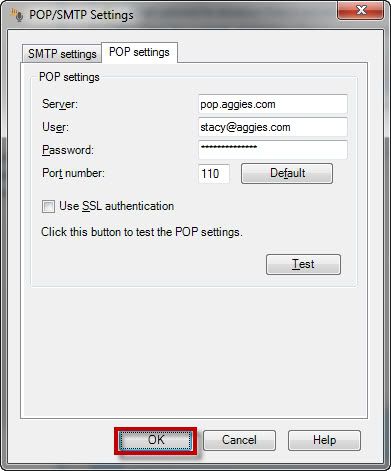
2. Select the POP Settings tab and enter your POP settings and select OK as the illustrated example below. Obtain your SMTP settings from your IT administrator or your email service provider. Selecting the Test button will let you know if it has been setup correctly.
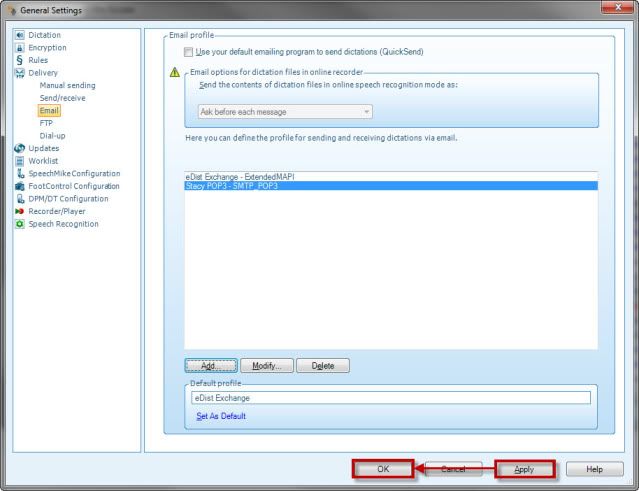
3. You will now see the email profile show up in the Email profile window. SelectApply and thenOK in the General Settings window as illustrated below.
Congratulations! You are done! Now you have a POP email profile set up and can send out dictations via that profile. Kick the tires and give it a spin!
Verification Source: In-house testing
Test Date: 01-26-12