The new Philips 8000 Pocket Memo allows users to customize the default screen displayed when the device is powered on. This allows distributors, dealers and users to give their Digital Pocket Memo a customized look and feel. This guide will walk you through the process of How to Add a Custom Logo to the Philips DPM8000. Illustrated screen shots have been included for your convenience.
STEP 1: Connect your DPM8000
1. Connect the DPM 8000 to your computer via the USB port, using the supplied Micro-USB cable.
STEP 2: Locate & Re-size your Image
1. Locate the image that you would like to see on your DPM splash screen (welcome screen).
2. We recommend using Microsoft Paint to reformat and re-size your image to meet the DPM8000 criteria.
3. Open Microsoft Paint by going to [Start] > [All Programs] > [Accessories] > [Microsoft Paint].
4. Drag your logo into Paint’s main window or simply open the file.
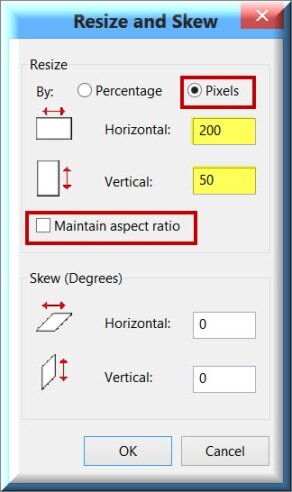
5. Click on the [Re-size] button found on the Toolbar. You will be presented with a Re-size and Skew dialog box.
6. Select the [Pixels] radio button, change the Horizontal to 200 and the Vertical to 50 as indicated below.
7. Uncheck the [Maintain aspect ratio] option.
8. Next, save the file with the specific name and format indicated below. Go to [File] > [Save As]. Select [24-bit Bitmap (.bmp)]. The File name must be Welcome.
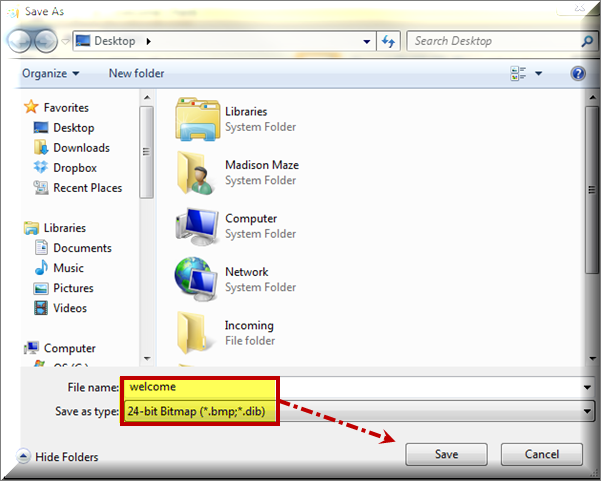
Note: Be sure to save the file to a location that you will be able to find easily for Step 3.
9. Click [Save].
STEP 3: Upload the Customized Image to the Device
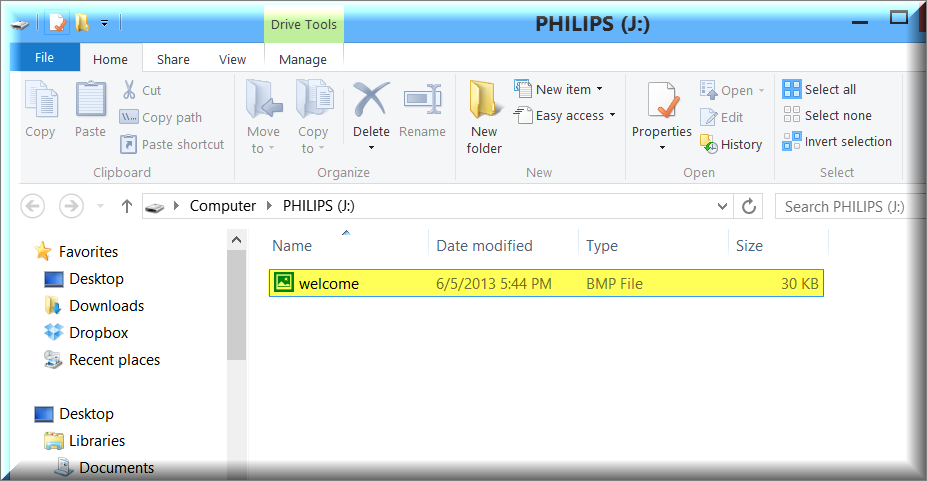
1. Now we are ready to move the saved file to your DMP 8000 via the USB connection. With the DPM 8000 still connected, go to [Start] > [Computer] to select the Removable drive assigned to your Philips device.
2. Copy the newly created Welcome.bmp file you created to the folder.
Congratulations, you’re done. Disconnect and Power on your Philips 8000 Pocket Memo to see your personalized logo displayed.