User-Defined Labels in SpeechExec Pro
This ‘How to’ guide will walk you through the process of configuring your DPM with user-defined labels within the Philips SpeechExec Version 7. User-defined labels are an enhanced option for setting the behavior of a DPM. This option allows you to enter 0, 1 or 2 user-defined labels. This will allow for a mandatory user input option.
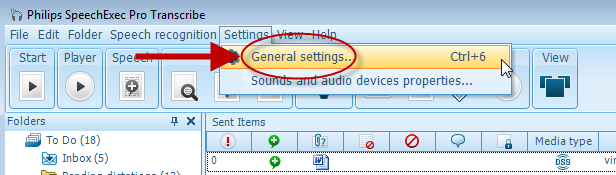
Step 1: Connect your DPM and open the SE Pro software. Go to [Settings] > [General Settings]. Or just press Control +6.
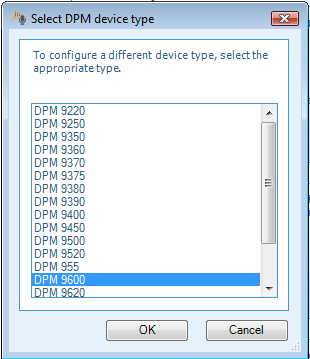
Step2: Once you have opened the General Settings panel, look at the topics on the left hand side and choose [DPM/DT Configuration]> [DPM Settings]. Look over to the right of the panel and you will see Start configuration. Choose the DPM you have connected and click OK.

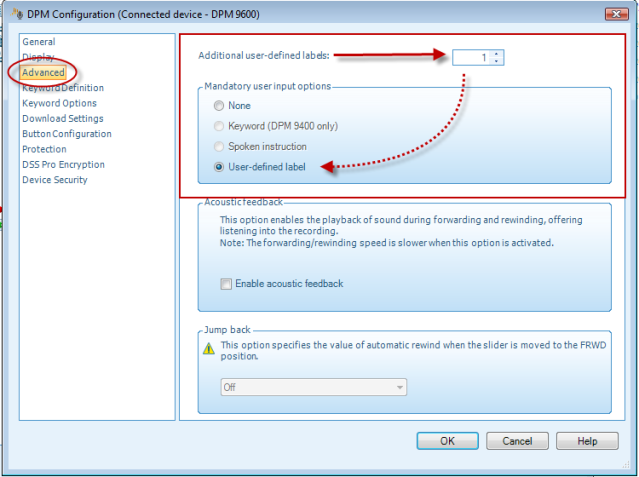
Step 3: This will bring up the DPM configuration panel. Select Advanced. To your right you will see the section for ‘Additional user-defined labels’. Choose how many labels you want. Each label will fill a field when you download the audio files from your DPM. In this case I have chosen to have one additional field.
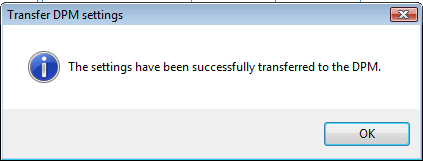
Step 4: Click OK and you will get a confirmation that the user-defined option has been transferred to the DPM as shown in the example below.
Step 5: The next time you make a recording you will have the option to select ‘user defined’. Once you select user defined on your DPM, you will have the option to put in numbers and/or letters so that you can add your own data to the field ‘Label 1 (DPM). In the example below I add the names Smith, Jones and Simmons to the user-defined labels of the downloaded audio files.
